Step 1: Remove the old vent plate by unscrewing the two Philips head screws.
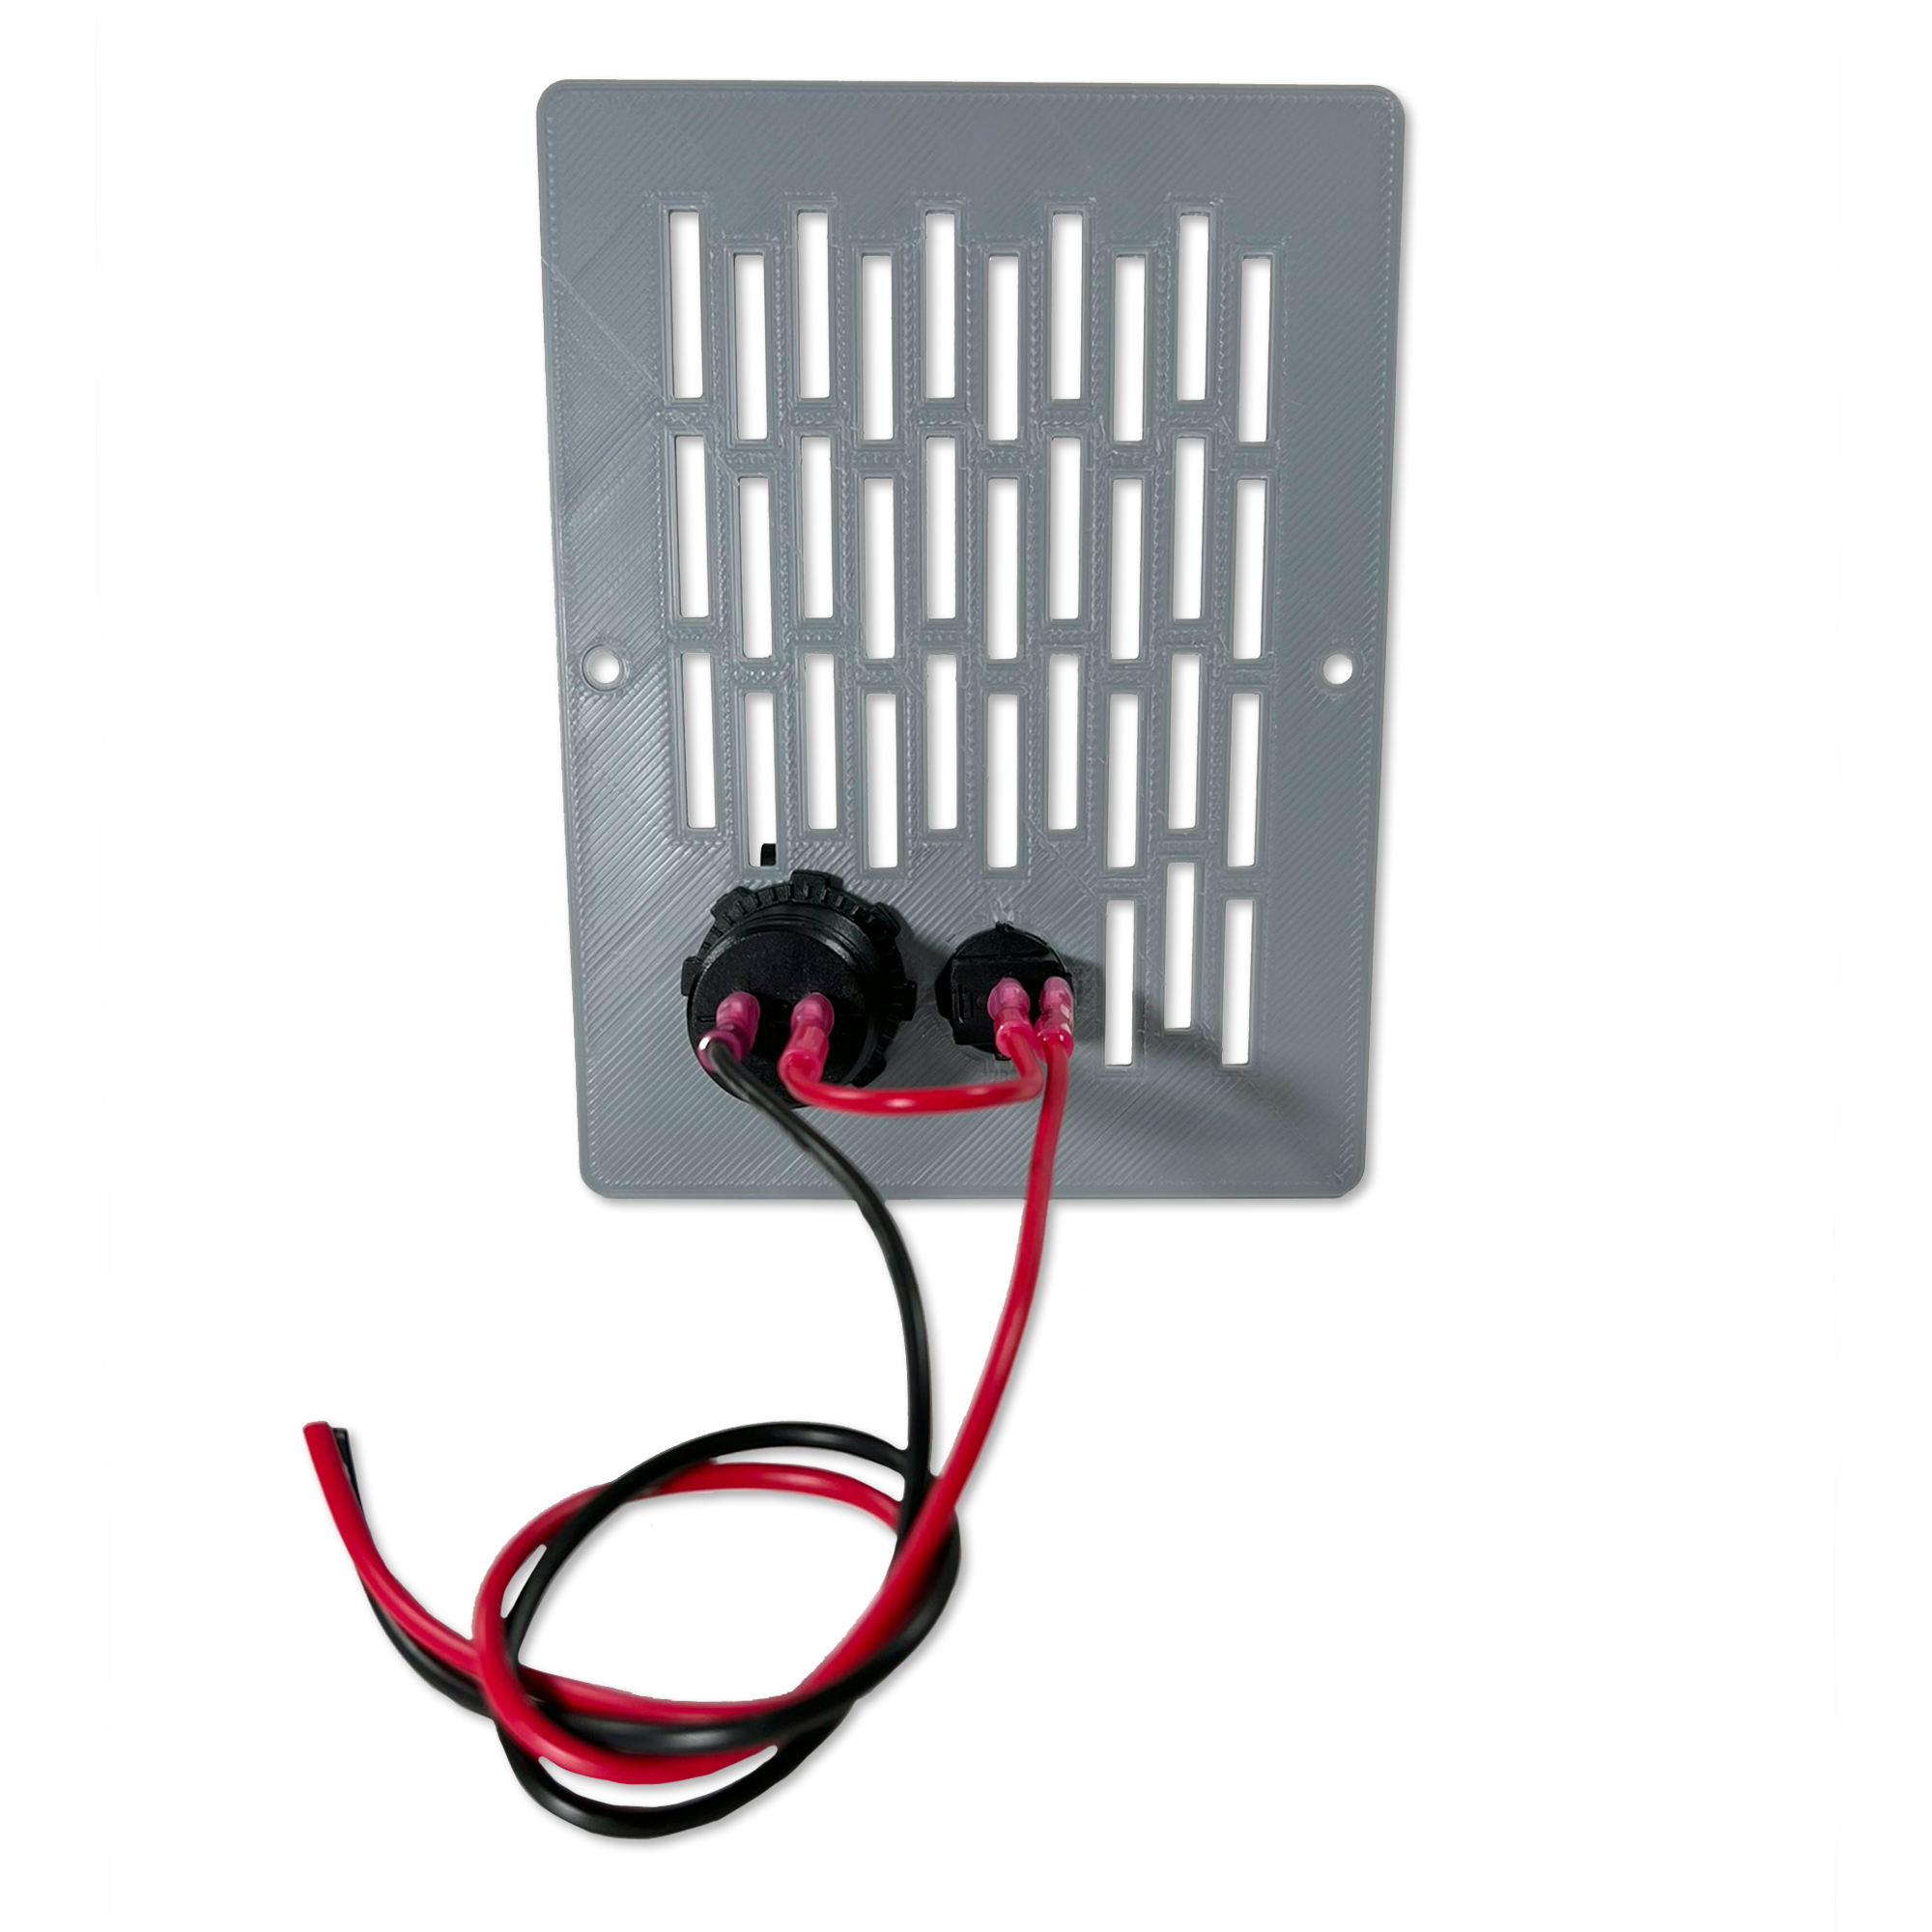
Step 2: With our new Fridge Vent Plate in hand, prep the wiring as show in the diagram and picture below:

Step 3: Connect the two leads coming out of the Fridge Vent Plate to a fused power source. This can be from an auxiliary battery or the starting battery. \
Step 4: Before installing, make sure that all is working as it should.
Step 5: Install the Fridge Vent plate back into the original location using the same screws. Make sure the wires are tucked nicely and not touching any parts of the fridge (the fridge may be hot at times especially around the exhaust; you do not want the wires melting).
Step 6: Turn the switch on and enjoy!
Note: We strongly advise that you install the fridge vent plate with a 5A in-line fuse or connect to a fuse panel with a 5A fuse to prevent any damage to your van